Fernando
Dynamic Meta Tags Update in Angular 18 for Enhanced SEO
Published 2 years ago
• 10 min read
Dynamic Meta Tags Update in Angular 18 for Enhanced SEO
Introduction
Meta tags are crucial for SEO and social sharing, especially for blog pages, e-commerce sites, and marketplaces. However, JavaScript frameworks often struggle with server-side rendering (SSR), which can negatively impact SEO. This tutorial will guide you through dynamically updating meta tags in Angular 18 to improve SSR performance.
Part 1: Setting Up the Environment
Installing Node.js and Angular CLI
Before we start, ensure you have Node.js and Angular CLI installed. You can download Node.js from nodejs.org. To install Angular CLI, run the following command:
npm install -g @angular/cli
Part 2: Creating the Application
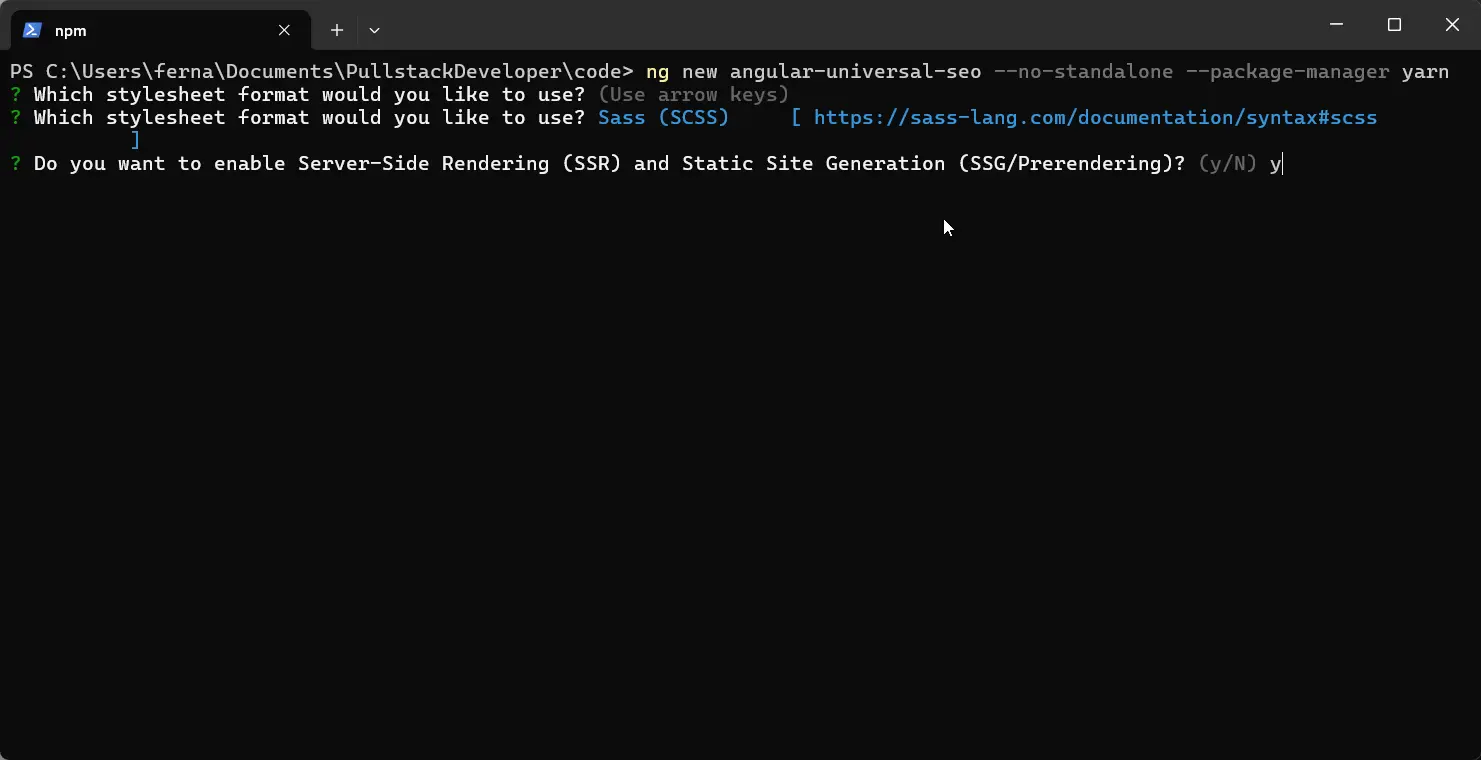
Generating a New Angular Project
Create a new Angular project with SSR support. Use --no-standalone and yarn as the package manager.
ng new angular-universal-seo --no-standalone --package-manager yarn
Part 3: Configuring the angular.json
Accessing the Public Folder
Angular 18 no longer uses the assets folder. Update angular.json to use the public folder instead:
{
  "$schema": "./node_modules/@angular/cli/lib/config/schema.json",
  "version": 1,
  "cli": {
    "packageManager": "yarn",
    "analytics": "56e4eb4f-2873-4a39-b466-81a2b490763e"
  },
  "newProjectRoot": "projects",
  "projects": {
    "angular-universal-seo": {
      "projectType": "application",
      "schematics": {
        "@schematics/angular:component": {
          "style": "scss",
          "standalone": false
        },
        "@schematics/angular:directive": {
          "standalone": false
        },
        "@schematics/angular:pipe": {
          "standalone": false
        }
      },
      "root": "",
      "sourceRoot": "src",
      "prefix": "app",
      "architect": {
        "build": {
          "builder": "@angular-devkit/build-angular:application",
          "options": {
            "outputPath": "dist/angular-universal-seo",
            "index": "src/index.html",
            "main": "src/main.ts",
            "polyfills": ["zone.js"],
            "tsConfig": "tsconfig.app.json",
            "inlineStyleLanguage": "scss",
            "assets": [
              {
                "glob": "**/*",
                "input": "public",
                "output": "/public" -> insert this line
              }
            ],
            "styles": ["src/styles.scss"],
            "scripts": [],
            "server": "src/main.server.ts",
            "prerender": true,
            "ssr": {
              "entry": "server.ts"
            }
          },
          "configurations": {
            "production": {
              "budgets": [
                {
                  "type": "initial",
                  "maximumWarning": "500kB",
                  "maximumError": "1MB"
                },
                {
                  "type": "anyComponentStyle",
                  "maximumWarning": "2kB",
                  "maximumError": "4kB"
                }
              ],
              "outputHashing": "all"
            },
            "development": {
              "optimization": false,
              "extractLicenses": false,
              "sourceMap": true
            }
          },
          "defaultConfiguration": "production"
        },
        "serve": {
          "builder": "@angular-devkit/build-angular:dev-server",
          "configurations": {
            "production": {
              "buildTarget": "angular-universal-seo:build:production"
            },
            "development": {
              "buildTarget": "angular-universal-seo:build:development"
            }
          },
          "defaultConfiguration": "development"
        },
        "extract-i18n": {
          "builder": "@angular-devkit/build-angular:extract-i18n"
        },
        "test": {
          "builder": "@angular-devkit/build-angular:karma",
          "options": {
            "polyfills": ["zone.js", "zone.js/testing"],
            "tsConfig": "tsconfig.spec.json",
            "inlineStyleLanguage": "scss",
            "assets": [
              {
                "glob": "**/*",
                "input": "public"
              }
            ],
            "styles": ["src/styles.scss"],
            "scripts": []
          }
        }
      }
    }
  }
}
Part 4: Creating Meta Data JSON File
Adding Meta Data JSON
Create a post-meta-data.json file in the public/blog/posts directory with the following content:
[
  {
    "id": 1,
    "postId": "culturally-sensitive-translations-in-angular-with-ngx-translate",
    "title": "Culturally Sensitive Translations with ngx-translate in Angular",
    "description": "Learn how to use ngx-translate in Angular to create culturally sensitive translations that go beyond mere word substitution. This tutorial covers setting up ngx-translate, implementing basic and advanced translations, and ensuring your app resonates with users from diverse cultural backgrounds. Elevate your internationalization skills and provide a truly global user experience!",
    "keyWords": "ngx-translate, Angular translations, culturally sensitive translations, word substitution, internationalization, i18n, advanced translations, basic translations, diverse cultural backgrounds, global user experience, setting up ngx-translate, translation tutorial, Angular tutorial, multi-language support, localization, user experience, global app development, multilingual Angular app, translation implementation, cross-cultural app development",
    "image": "https://pullstackdeveloper.com/assets/posts/culturally-sensitive-translations-in-angular-with-ngx-translate/images/cover.webp",
    "url": "https://pullstackdeveloper.com/post/culturally-sensitive-translations-in-angular-with-ngx-translate"
  },
  {
    "id": 2,
    "postId": "securely-managing-credentials-in-nestjs-applications-with-azure-key-vault",
    "title": "Securely Managing Credentials in NestJS Applications with Azure Key Vault",
    "description": "In modern software development, security is paramount, especially for managing sensitive data. NestJS provides a robust foundation for secure applications, but Azure Key Vault enhances this by offering a centralized, secure repository for storing and managing credentials. Leveraging Azure Key Vault ensures NestJS applications safeguard their credentials, allowing only authorized access.",
    "keyWords": "NestJS secure credentials, Azure Key Vault NestJS, NestJS credential management, Secure API keys NestJS, NestJS database password management, NestJS security best practices, Azure Key Vault features, NestJS dependency injection, Secure coding practices for NestJS, Cloud-based credential management, How to use Azure Key Vault with NestJS, Securing NestJS applications with Azure Key Vault, Best way to manage credentials in NestJS, Step-by-step guide to NestJS and Azure Key Vault, Practical examples of NestJS and Azure Key Vault integration",
    "image": "https://firebasestorage.googleapis.com/v0/b/pull-stack-developer.appspot.com/o/angular-blog%2Fposts%2Fnestjs-keyvault%2Fimages%2Fcover.webp?alt=media",
    "url": "https://pullstackdeveloper.com/post/securely-managing-credentials-in-nestjs-applications-with-azure-key-vault"
  }
]
Part 5: Creating the SEO Service
SEO Service Implementation
Create a service named seo.service.ts to update meta tags dynamically:
import { Injectable } from '@angular/core';
import { Meta, Title } from '@angular/platform-browser'; // Import Meta and Title services
import { MetaTagInterface } from '../../models/meta-tag.interface'; // Import MetaTagInterface

@Injectable({
  providedIn: 'root'
})
export class SeoService {

  constructor(private meta: Meta, private title: Title) { } // Inject Meta and Title services

  updateMetaTags(config: MetaTagInterface): void {
    this.title.setTitle(config.title); // Set the page title
    this.meta.updateTag({ name: 'description', content: config.description }); // Update description meta tag
    this.meta.updateTag({ name: 'keywords', content: config.keyWords }); // Update keywords meta tag

    // Facebook and LinkedIn Open Graph tags
    this.meta.updateTag({ property: 'og:title', content: config.title });
    this.meta.updateTag({ property: 'og:description', content: config.description });
    this.meta.updateTag({ property: 'og:image', content: config.image });
    this.meta.updateTag({ property: 'og:url', content: config.url });

    // Twitter Card tags
    this.meta.updateTag({ name: 'twitter:title', content: config.title });
    this.meta.updateTag({ name: 'twitter:description', content: config.description });
    this.meta.updateTag({ name: 'twitter:image', content: config.image });
    this.meta.updateTag({ name: 'twitter:card', content: 'summary_large_image' });
  }
}
Index HTML Configuration
Update index.html to include essential meta tags:
<!doctype html>
<html lang="en">
<head>
  <meta charset="utf-8">
  <title>AngularUniversalSeo</title>
  <base href="/">
  <meta name="viewport" content="width=device-width, initial-scale=1">

  <!-- Essential meta tags -->
  <meta

 charset="UTF-8">
  <meta name="viewport" content="width=device-width, initial-scale=1.0">
  <meta name="description" content="Pull Stack Developer - Tips, tutorials, and insights on full stack development focusing on Angular, Node.js, and cutting-edge technologies.">
  <meta name="keywords" content="Full Stack Development, Angular, Node.js, Tutorials, Technology, Programming">
  <meta name="author" content="Fernando">

  <!-- SEO meta tags -->
  <meta property="og:title" content="Pull Stack Developer - Tips, tutorials, and insights on full stack development">
  <meta property="og:description" content="Access tutorials, tips, and insights on full stack development, including Angular, Node.js, and more!">
  <meta property="og:image" content="https://pullstackdeveloper.com/assets/imgs/logo.jpg">
  <meta property="og:url" content="https://pullstackdeveloper.com">
  <meta property="og:type" content="website">

  <meta name="twitter:card" content="summary_large_image">
  <meta name="twitter:title" content="Pull Stack Developer - Tips, tutorials, and insights on full stack development">
  <meta name="twitter:description" content="Access tutorials, tips, and insights on full stack development, including Angular, Node.js, and more!">
  <meta name="twitter:image" content="https://pullstackdeveloper.com/assets/imgs/logo.jpg">

  <meta name="twitter:site" content="@pullstackdev88">

  <link rel="icon" type="image/x-icon" href="favicon.ico">
</head>
<body>
  <app-root></app-root>
</body>
</html>
Part 6: Creating Blog Post Component
Blog Post Component Setup
Create a new component named blog-post, its module, and its routing file.
blog-post.component.ts
import { Component } from '@angular/core';
import { ActivatedRoute } from '@angular/router';

@Component({
  selector: 'app-blog-post',
  templateUrl: './blog-post.component.html',
  styleUrls: ['./blog-post.component.scss']
})
export class BlogPostComponent {
  constructor() {}
}
blog-post.routing.ts
import { NgModule } from '@angular/core';
import { RouterModule, Routes } from '@angular/router';
import { BlogPostComponent } from './blog-post.component';

const routes: Routes = [
  {
    path: '',
    component: BlogPostComponent,
  }
];

@NgModule({
  imports: [RouterModule.forChild(routes)],
  exports: [RouterModule]
})
export class BlogPostRoutingModule { }
blog-post.module.ts
import { NgModule } from '@angular/core';
import { BlogPostComponent } from './blog-post.component';
import { CommonModule } from '@angular/common';
import { BlogPostRoutingModule } from './blog-post.routing';

@NgModule({
  declarations: [BlogPostComponent],
  exports: [BlogPostComponent],
  imports: [CommonModule, BlogPostRoutingModule],
  providers: []
})
export class BlogPostModule { }
Part 7: Configuring HttpClient
App Module Configuration
Add provideHttpClient(withFetch()) to app.module.ts:
import { NgModule } from '@angular/core';
import { BrowserModule, provideClientHydration } from '@angular/platform-browser';
import { AppRoutingModule } from './app-routing.module';
import { AppComponent } from './app.component';
import { provideHttpClient, withFetch } from '@angular/common/http';

@NgModule({
  declarations: [
    AppComponent
  ],
  imports: [
    BrowserModule,
    AppRoutingModule
  ],
  providers: [
    provideHttpClient(withFetch()), // Provide HttpClient with fetch support
    provideClientHydration()
  ],
  bootstrap: [AppComponent]
})
export class AppModule { }
Part 8: Creating Blog Post Service
Blog Post Service Implementation
Create a service named blog-post.service.ts to fetch the current post data from JSON:
import { Injectable } from '@angular/core';
import { HttpClient } from '@angular/common/http';
import { map, Observable } from 'rxjs';

@Injectable({
  providedIn: 'root'
})
export class BlogPostService {

  constructor(private httpClient: HttpClient) { }

  getBlogPost(postId: string): Observable<any> {
    return this.httpClient.get('../../public/blog/posts/post-meta-data.json').pipe(
      map((posts: any) => posts.find((post: any) => post.postId === postId)) // Find the post with the matching postId
    );
  }
}
Part 9: Creating Blog Post Resolver
Blog Post Resolver Implementation
Create a resolver named blog-post.resolver.ts to fetch and update the meta tags dynamically. Add explanations to each line:
import { ResolveFn, Router } from '@angular/router';
import { inject } from '@angular/core';
import { BlogPostService } from '../../services/blog-post/blog-post.service';
import { SeoService } from '../../services/seo/seo.service';
import { map } from 'rxjs';

export const blogPostResolver: ResolveFn<any> = (route, state) => {
  const postService = inject(BlogPostService); // Inject BlogPostService
  const seoService = inject(SeoService); // Inject SeoService
  const router = inject(Router); // Inject Router
  const id = route.paramMap.get('id'); // Get the postId from the route parameters
  if (id) {
    return postService.getBlogPost(id).pipe(map((data: any) => {
      if (!data) {
        router.navigate(['/404']).then(() => false); // Navigate to 404 page if post is not found
        return null;
      }
      seoService.updateMetaTags({
        keyWords: data.keyWords,
        title: data.title,
        description: data.description,
        image: data.image,
        url: data.url
      }); // Update meta tags with post data
      return data; // Return post data
    }));
  }
  return null;
};
Part 10: Adding Resolver to Route
Updating Route Configuration
Add the resolver to the blog-post component route in app-routing.module.ts:
const routes: Routes = [
  {
    path: 'post/:id',
    loadChildren: () => import('./blog-post/blog-post.module').then(m => m.BlogPostModule),
    resolve: {
      data: blogPostResolver // Add the resolver here
    }
  },
  { path: '', redirectTo: '/', pathMatch: 'full' },
  { path: '**', component: PageNotFoundComponent } // Add a wildcard route for 404 page
];

@NgModule({
  imports: [RouterModule.forRoot(routes)],
  exports: [RouterModule]
})
export class AppRoutingModule { }
Part 11: Testing Meta Tags Update
Verifying Meta Tags Update
To test the dynamic update of meta tags, navigate to a blog post URL such as /blog-post/postId. Open the page source or use browser developer tools to check the updated meta tags.
Bonus Part: Accessing Post Data in Component
Using Resolver Data in Component
Retrieve the post data in the BlogPostComponent from the route, as provided by the resolver:
import { Component, OnInit } from '@angular/core';
import { ActivatedRoute } from '@angular/router';

@Component({
  selector: 'app-blog-post',
  templateUrl: './blog-post.component.html',
  styleUrls: ['./blog-post.component.scss']
})
export class BlogPostComponent implements OnInit {
  postData: any;

  constructor(private route: ActivatedRoute) { }

  ngOnInit(): void {
    this.route.data.subscribe(postData => {
      this.postData = postData['data']; // Assign the resolved data to postData
    });
  }
}
Conclusion
This technique of dynamically updating meta tags in Angular 18 for SSR is unprecedented and significantly enhances SEO performance for blog pages, e-commerce sites, and marketplaces. By following this tutorial, you can ensure your Angular application is optimized for both users and search engines, overcoming the typical SSR challenges in JavaScript frameworks.
Get the Working Code
Want to see the code from this tutorial in action? PULL the complete working example from my GitHub repository!
![]()
© 2024 PullStackDeveloper. All rights reserved.