Fernando
Securely Managing Credentials in NestJS Applications with Azure Key Vault
Published 2 years ago
• 10 min read
Prerequisites
- An Azure account with a Key Vault created.
- Node.js and npm installed.
- NestJS CLI installed.
Step 1: Setting Up the NestJS Project
First, let's create a new NestJS project or use an existing one. To create a new project, run:
nest new nestjs-keyvault
cd nestjs-keyvault
Step 2: Installing Dependencies
Install the necessary packages to integrate Azure Key Vault with your NestJS application:
npm install @azure/keyvault-secrets @azure/identity @nestjs/config
*Note
Using @nestjs/config is essential for managing configuration in different environments. It simplifies the process of loading environment-specific settings and handling .env files, making it easier to mock and change values during development and testing.
Step 3: Configuring Azure Key Vault
In Azure, obtain the credentials needed to access the Key Vault. You will need the clientId, clientSecret, and tenantId from the Azure Active Directory (AAD) to authenticate your application.
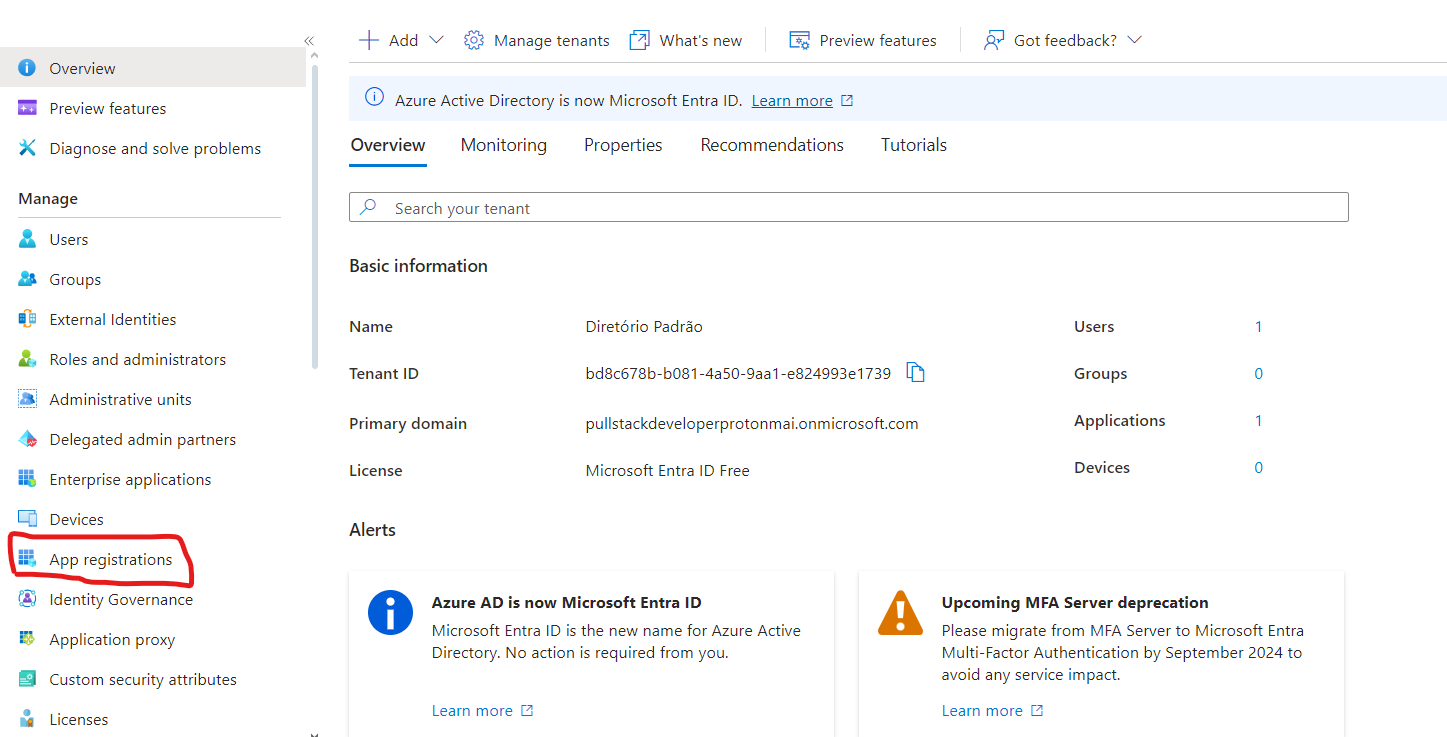
Step by step Azure Configuration
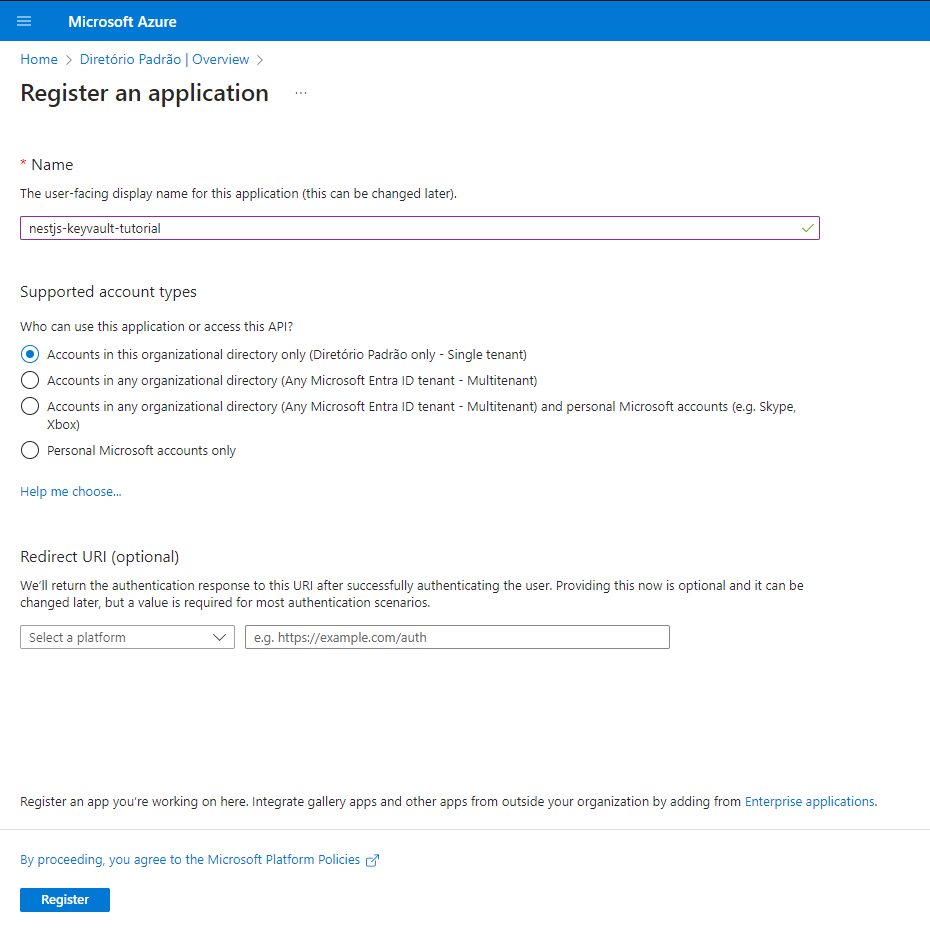
Create Application


Note down the name you enter in the application, as we will use it to access the Key Vault
Here you will have access to the credentials we will use in the tutorial.
AZURE_CLIENT_ID AZURE_TENANT_ID
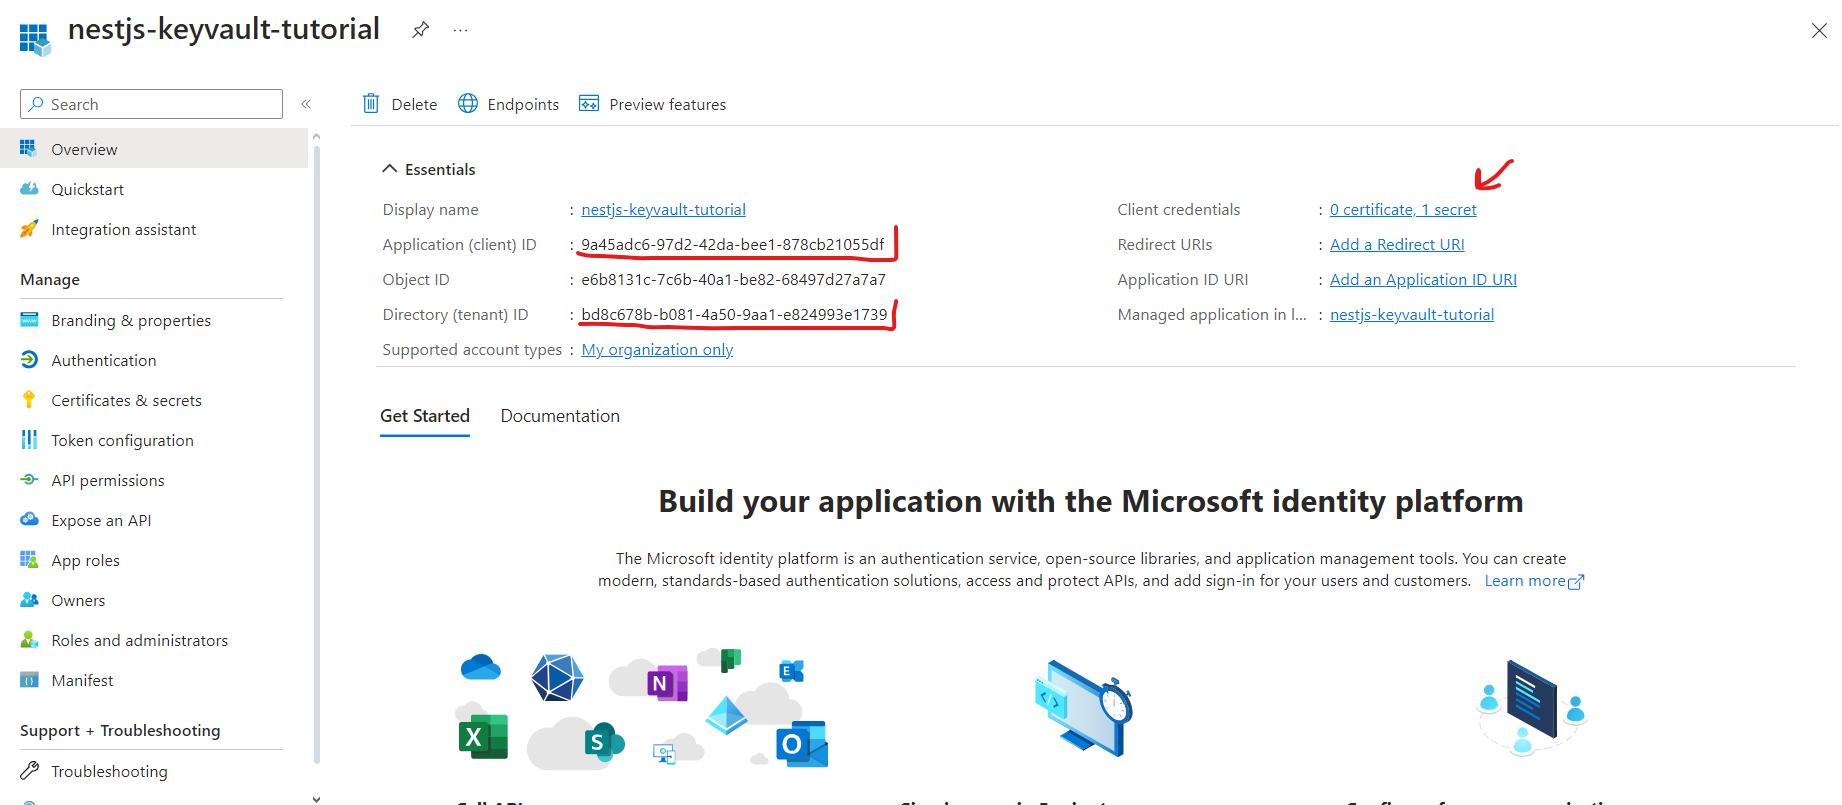
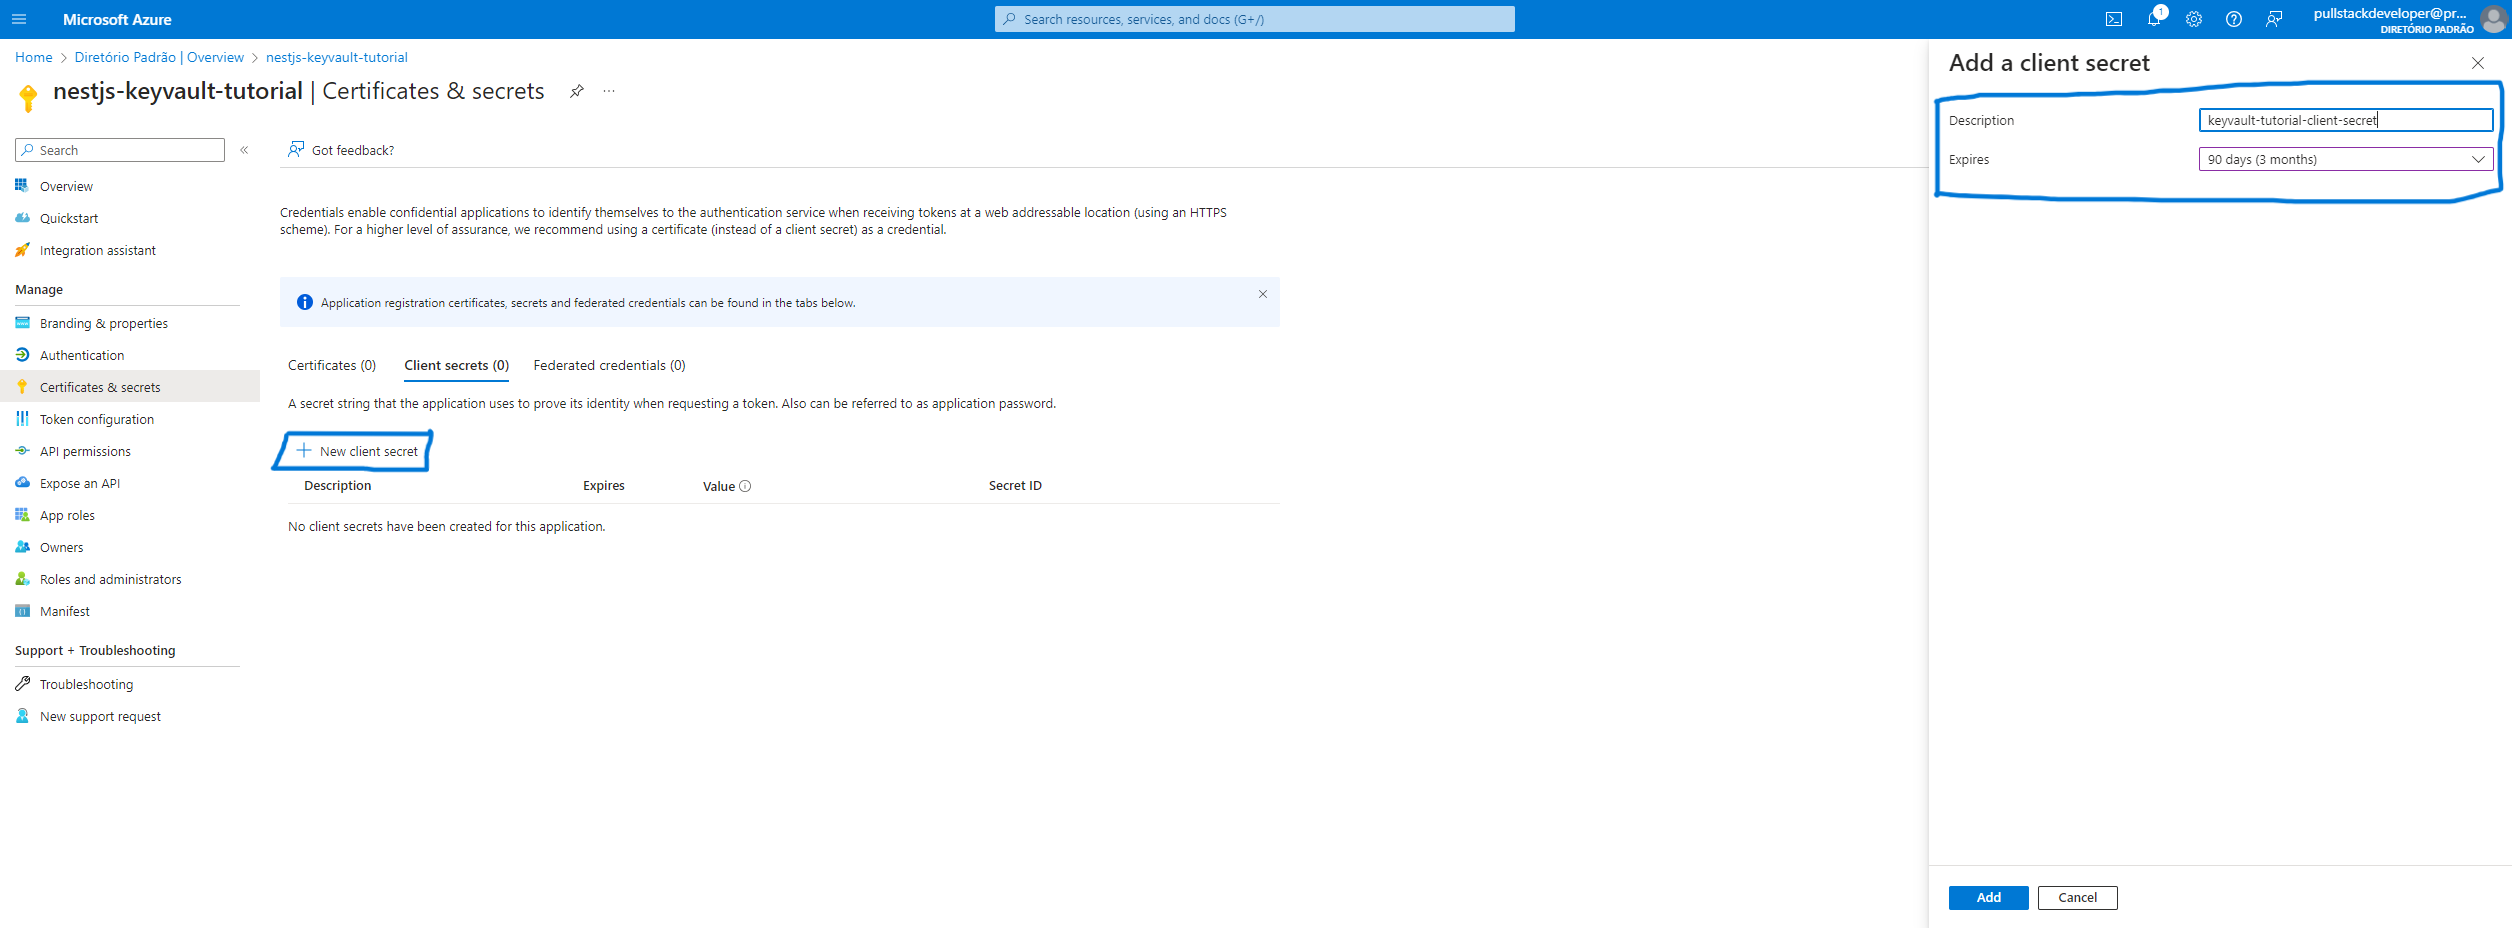
AZURE_CLIENT_SECRET
*Note: Copy the secret, as it will be displayed only once.
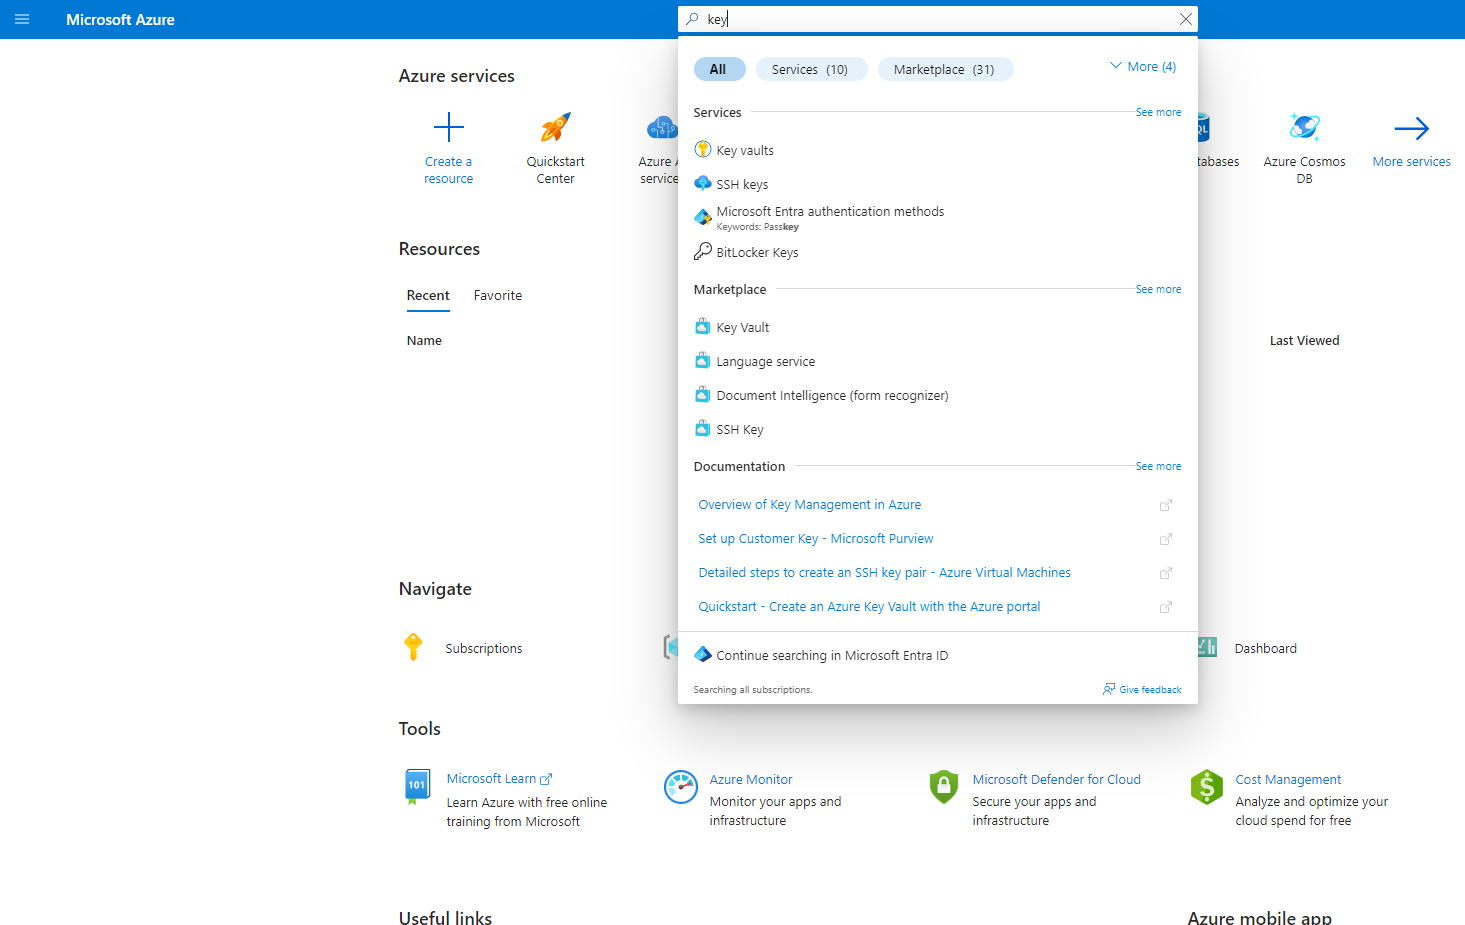
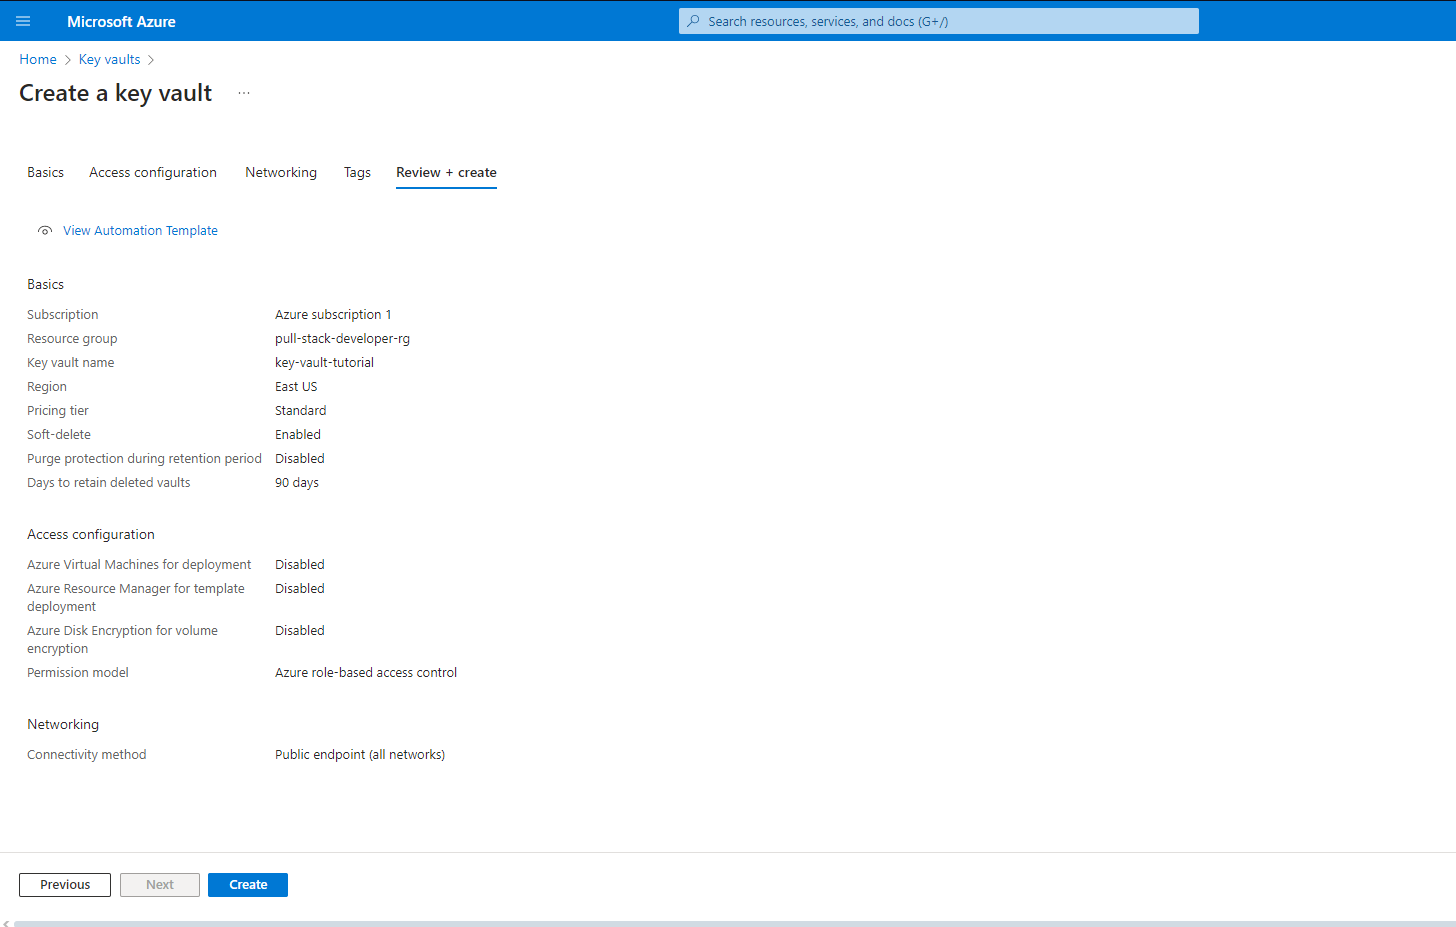
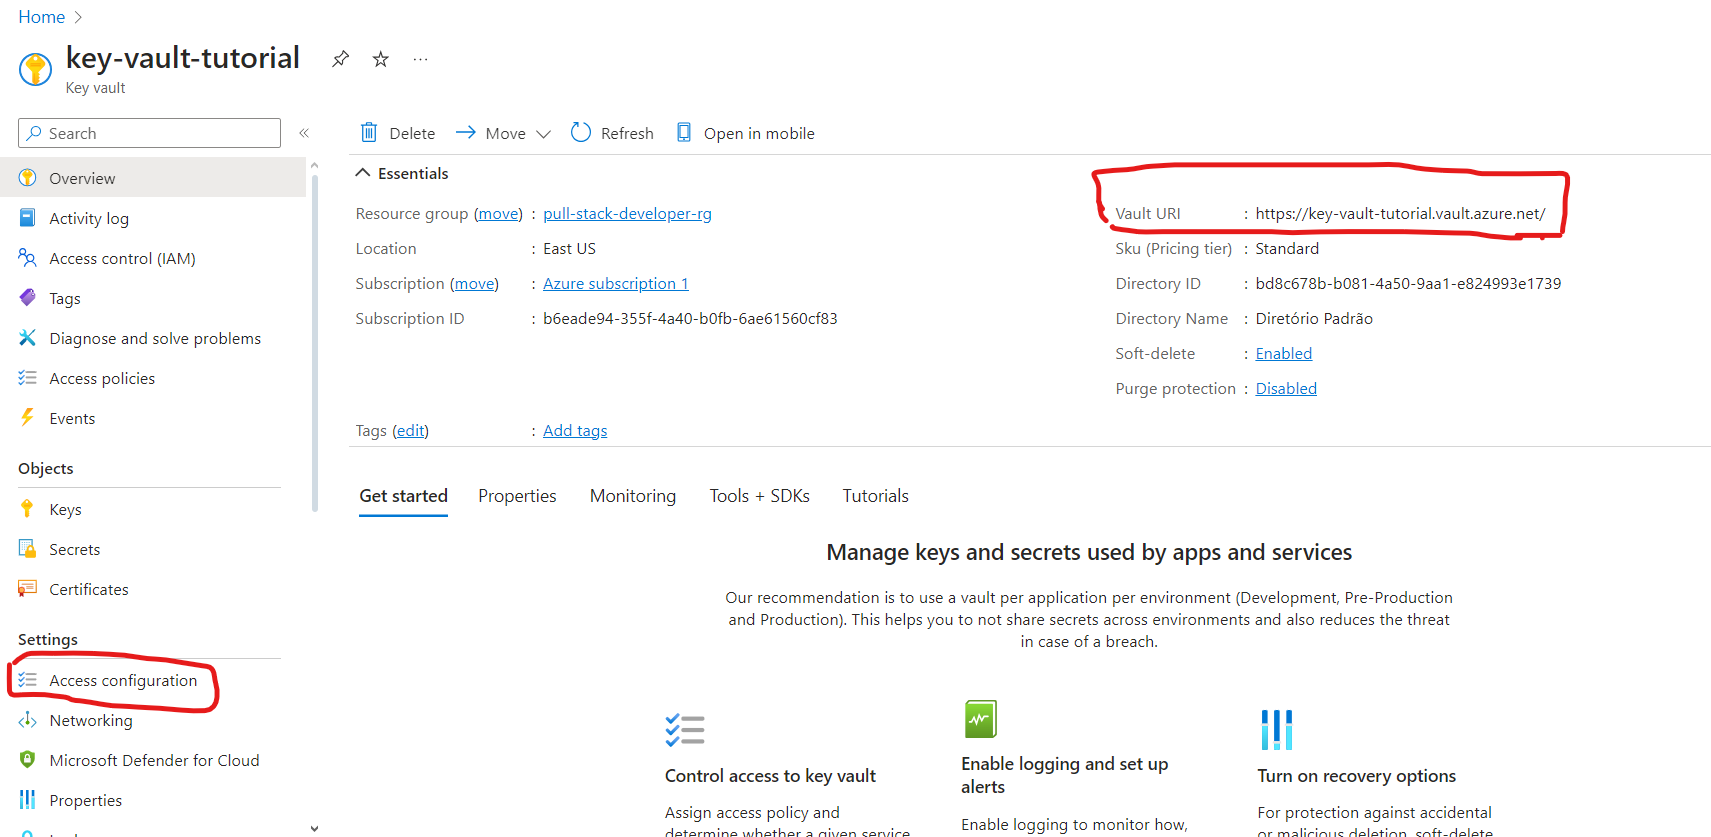
Create a Key vault
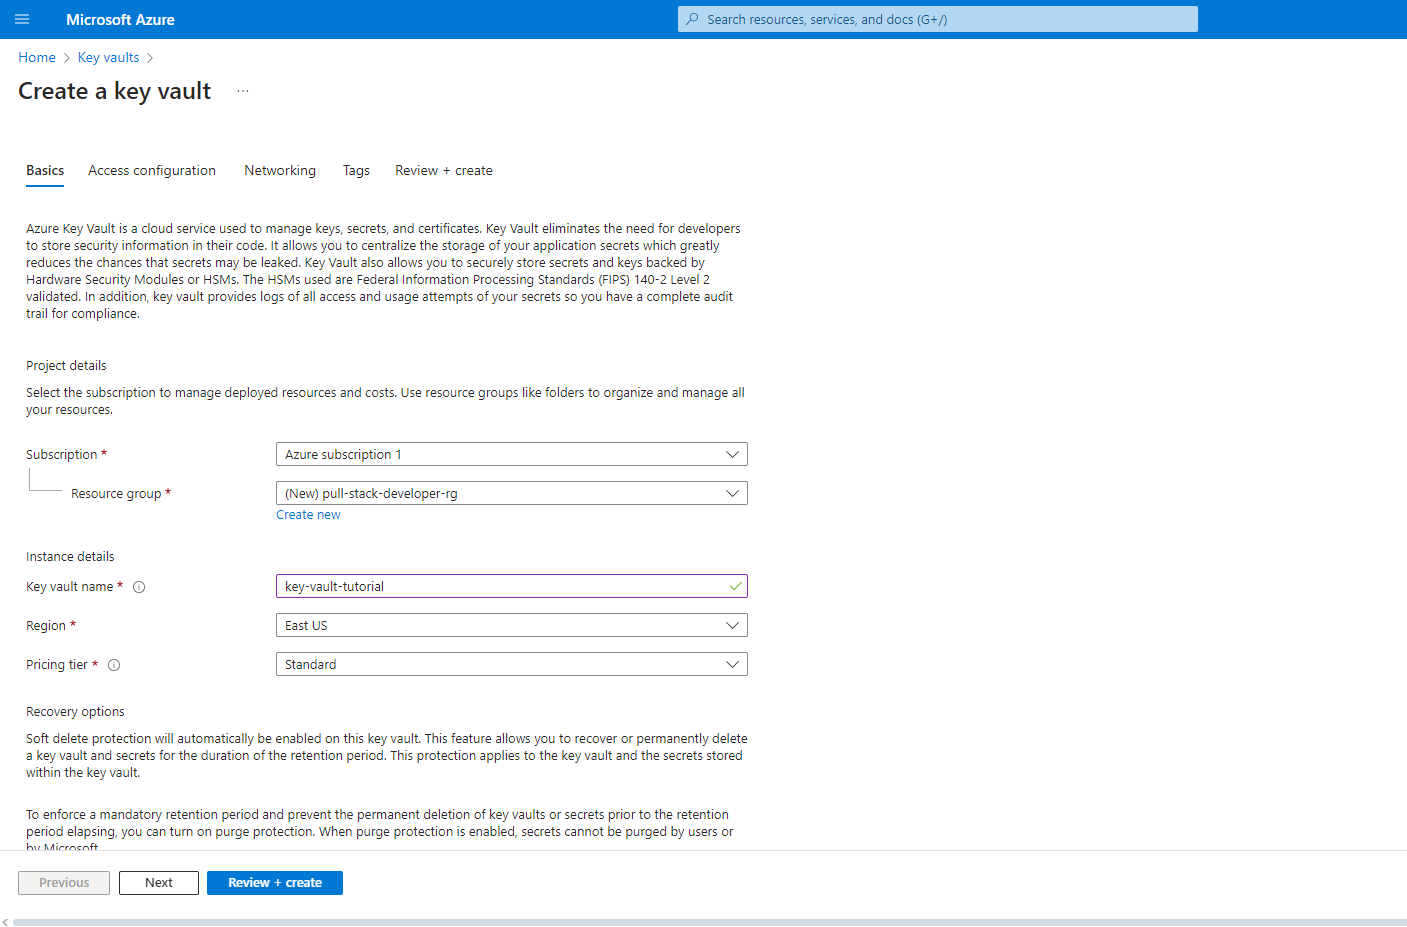
Now we have all our access variables, note down the Key Vault URL.
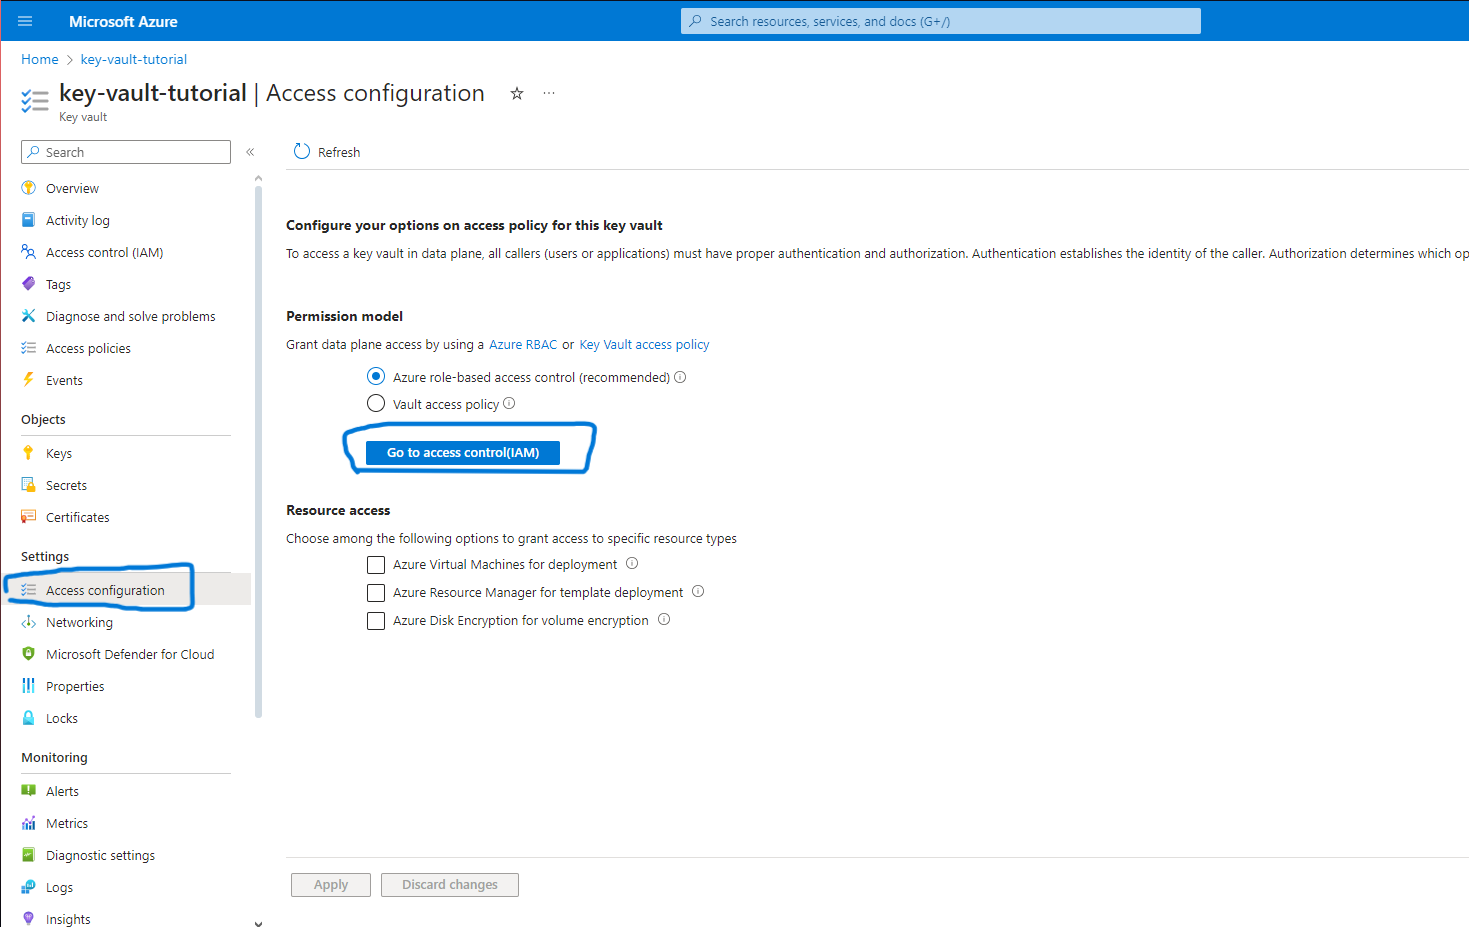

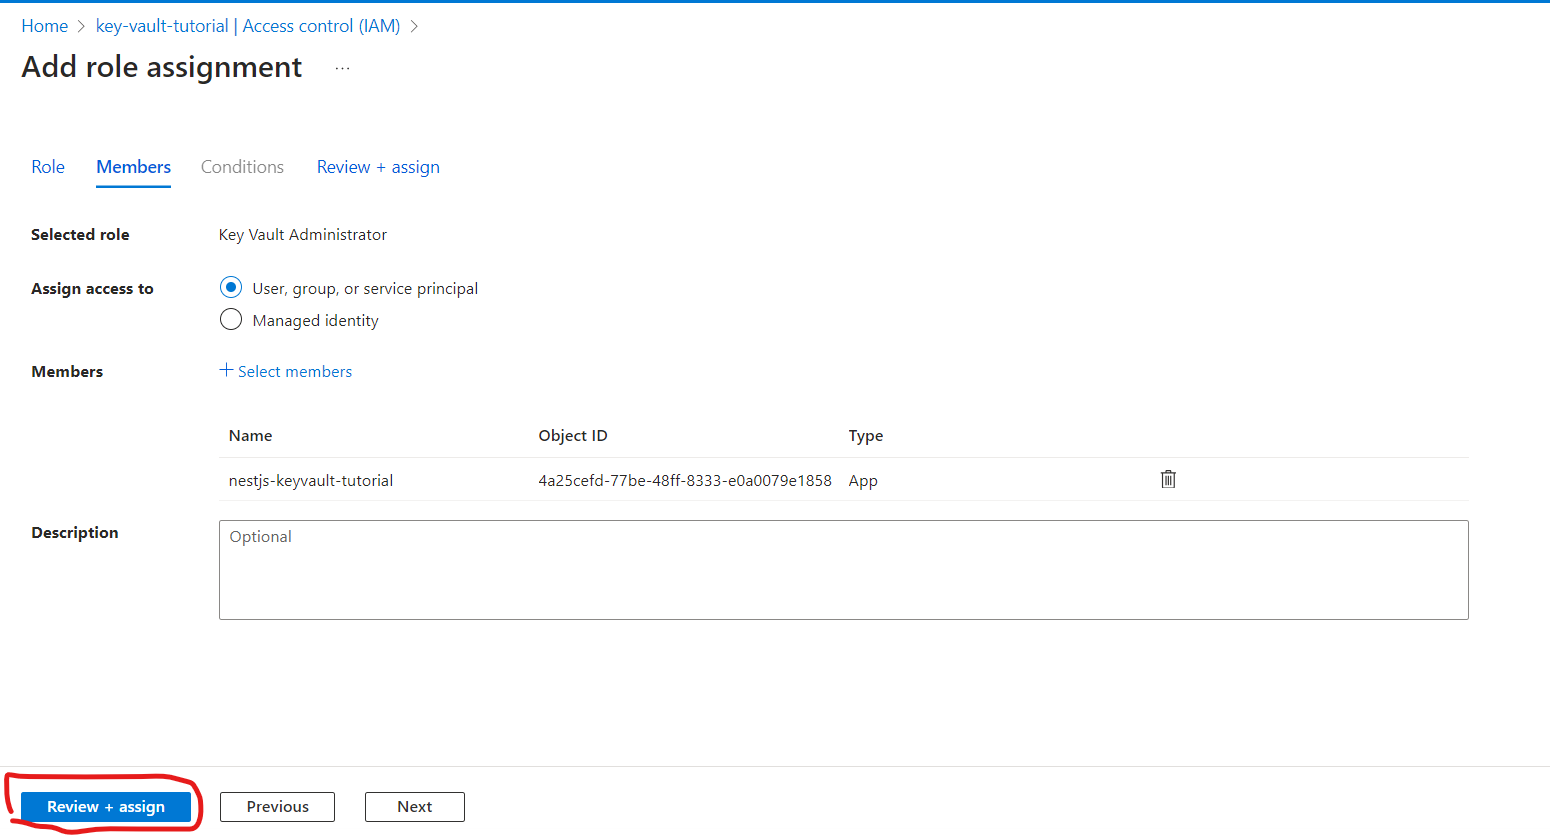
I selected the Administrator role, just to simplify the tutorial.
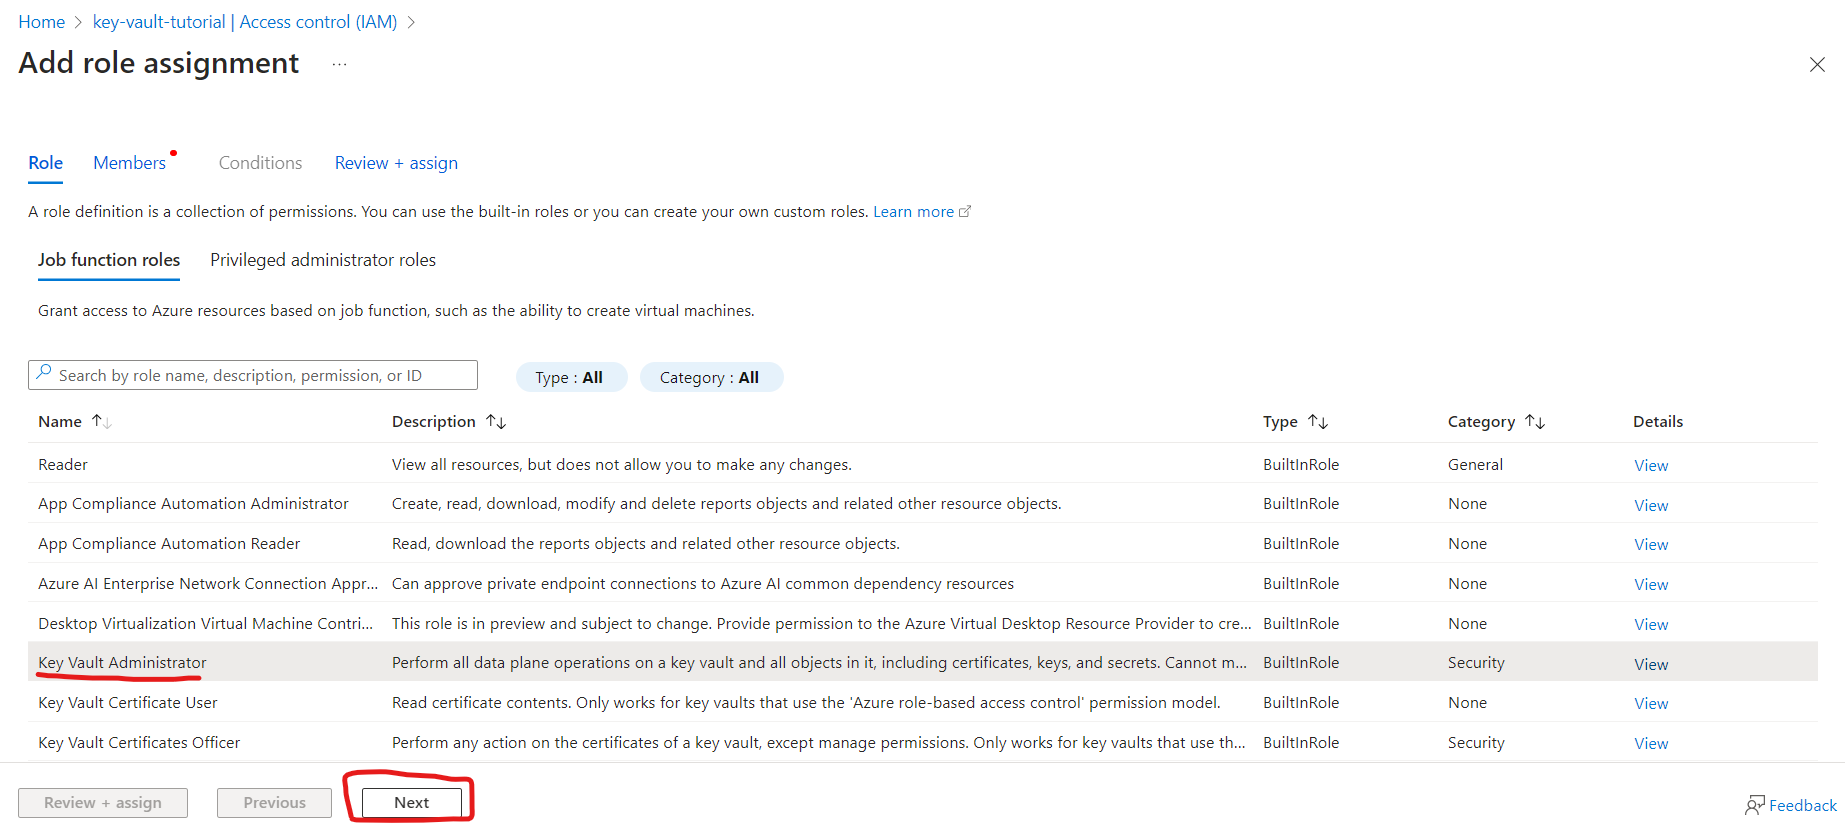
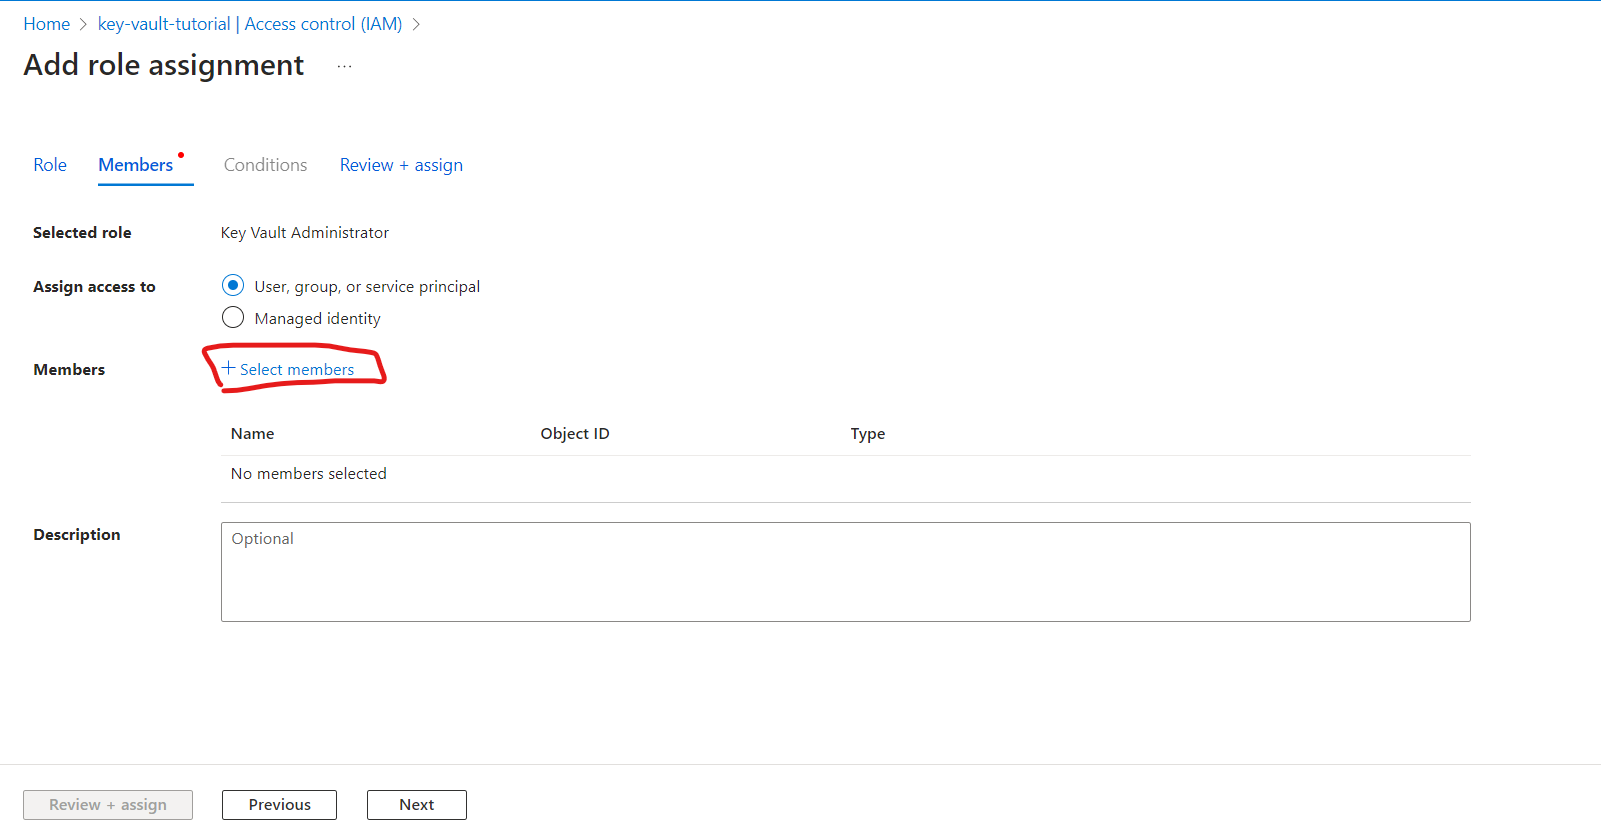
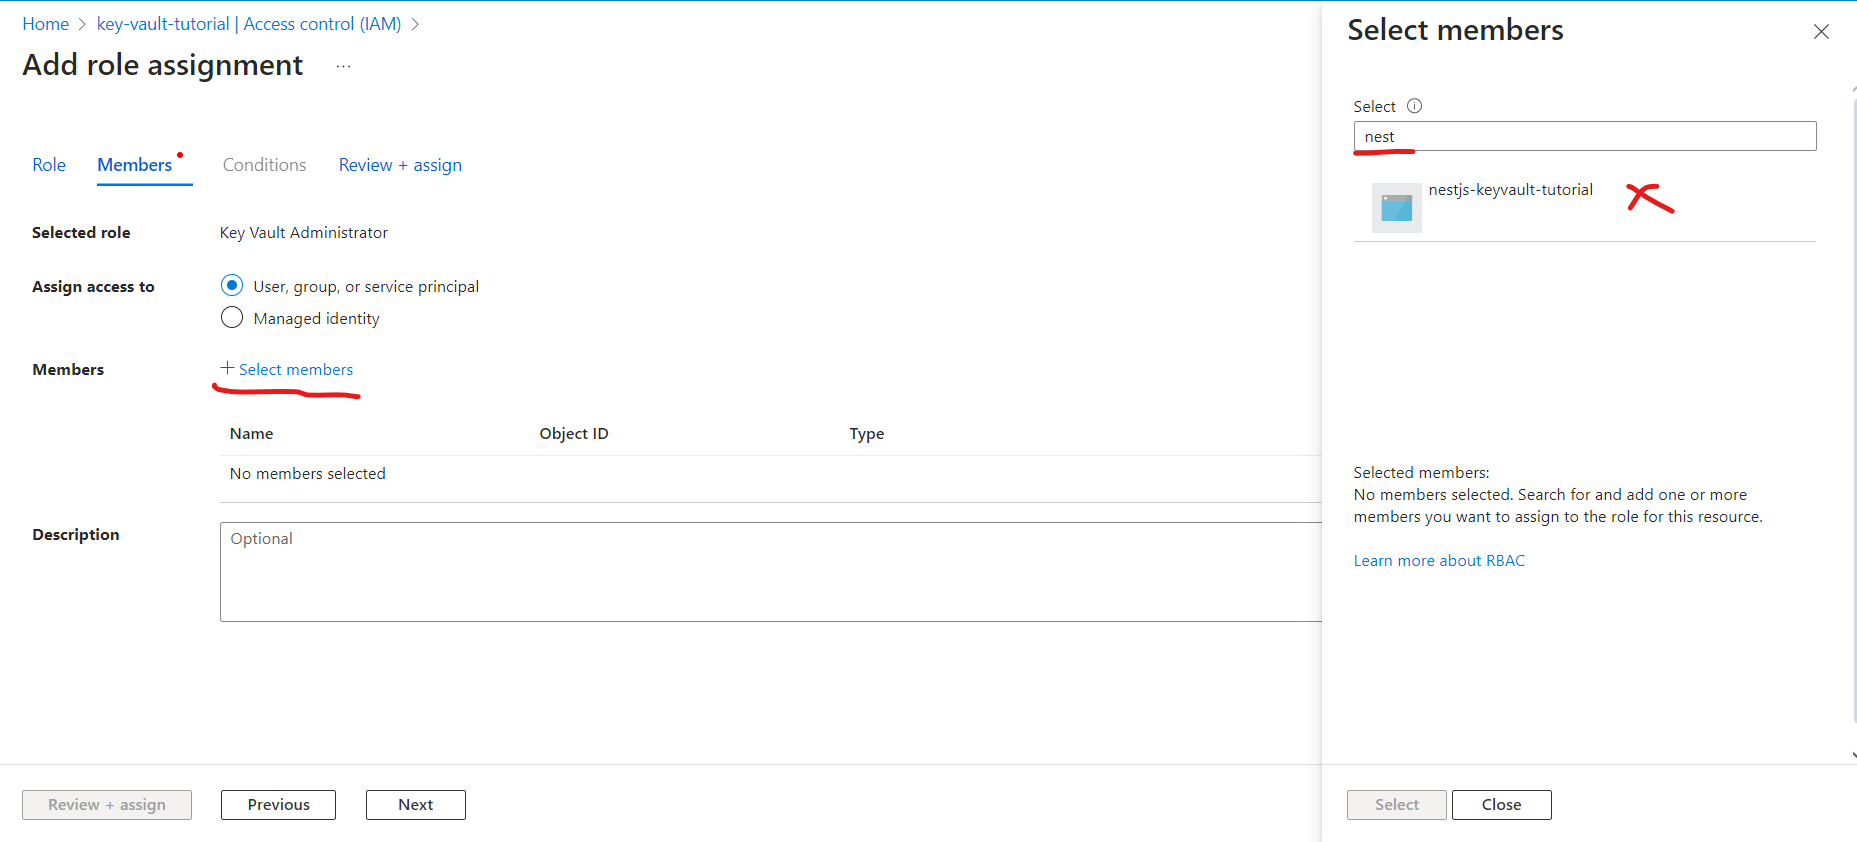
Now, use the application you created earlier. Also, add your user to be able to create the secret manually.
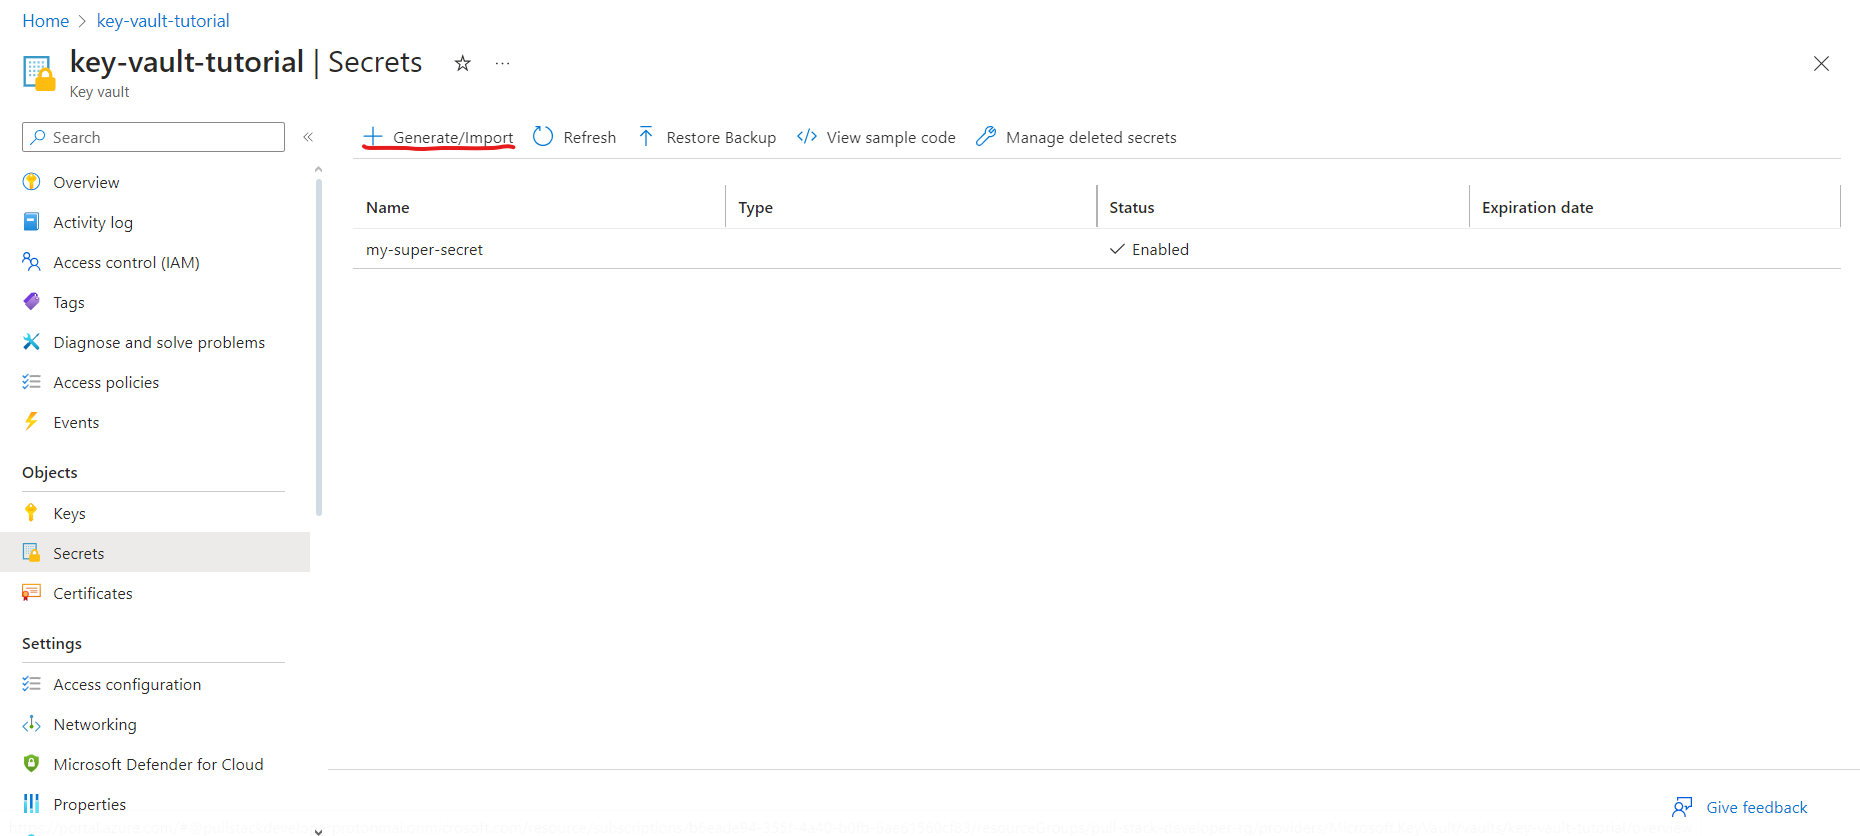
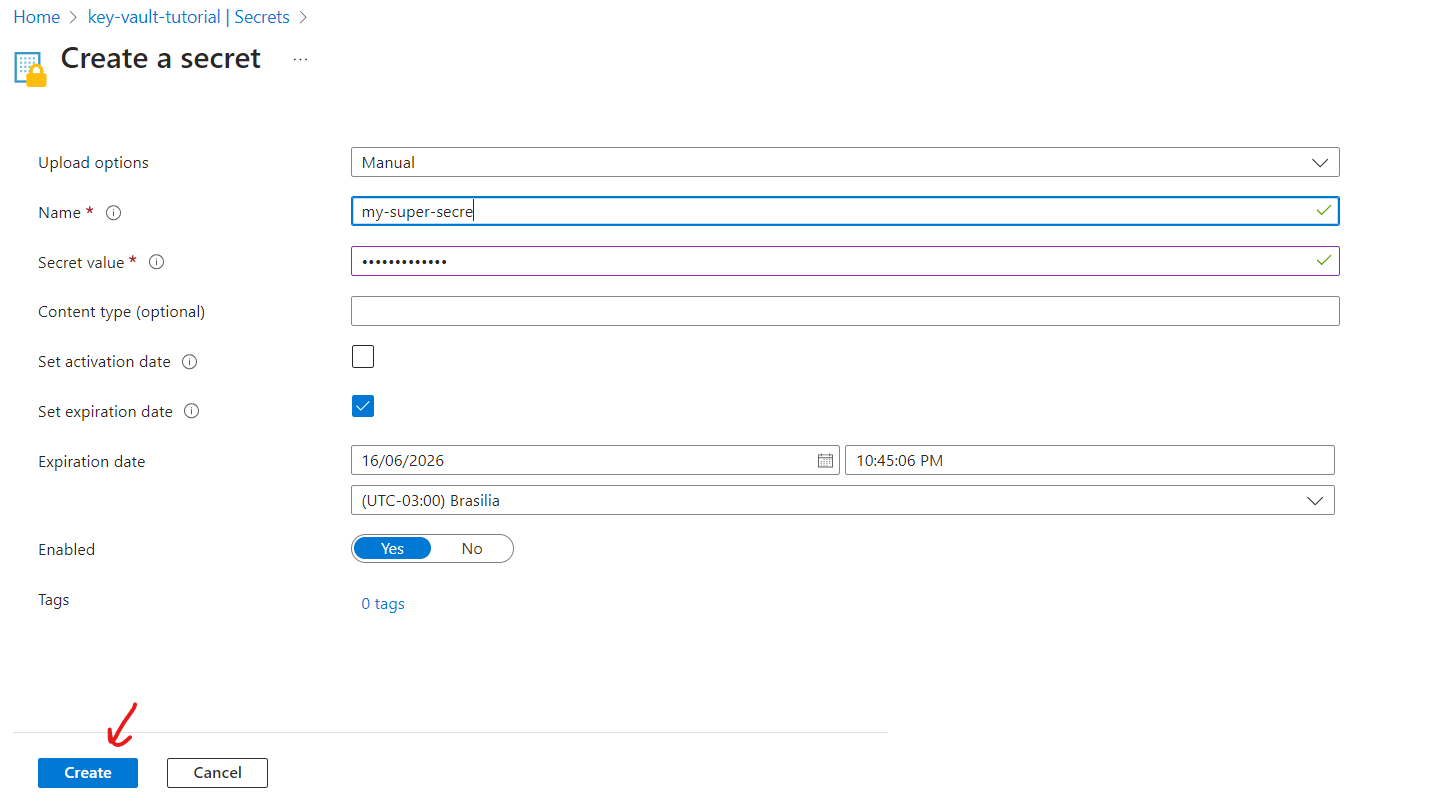
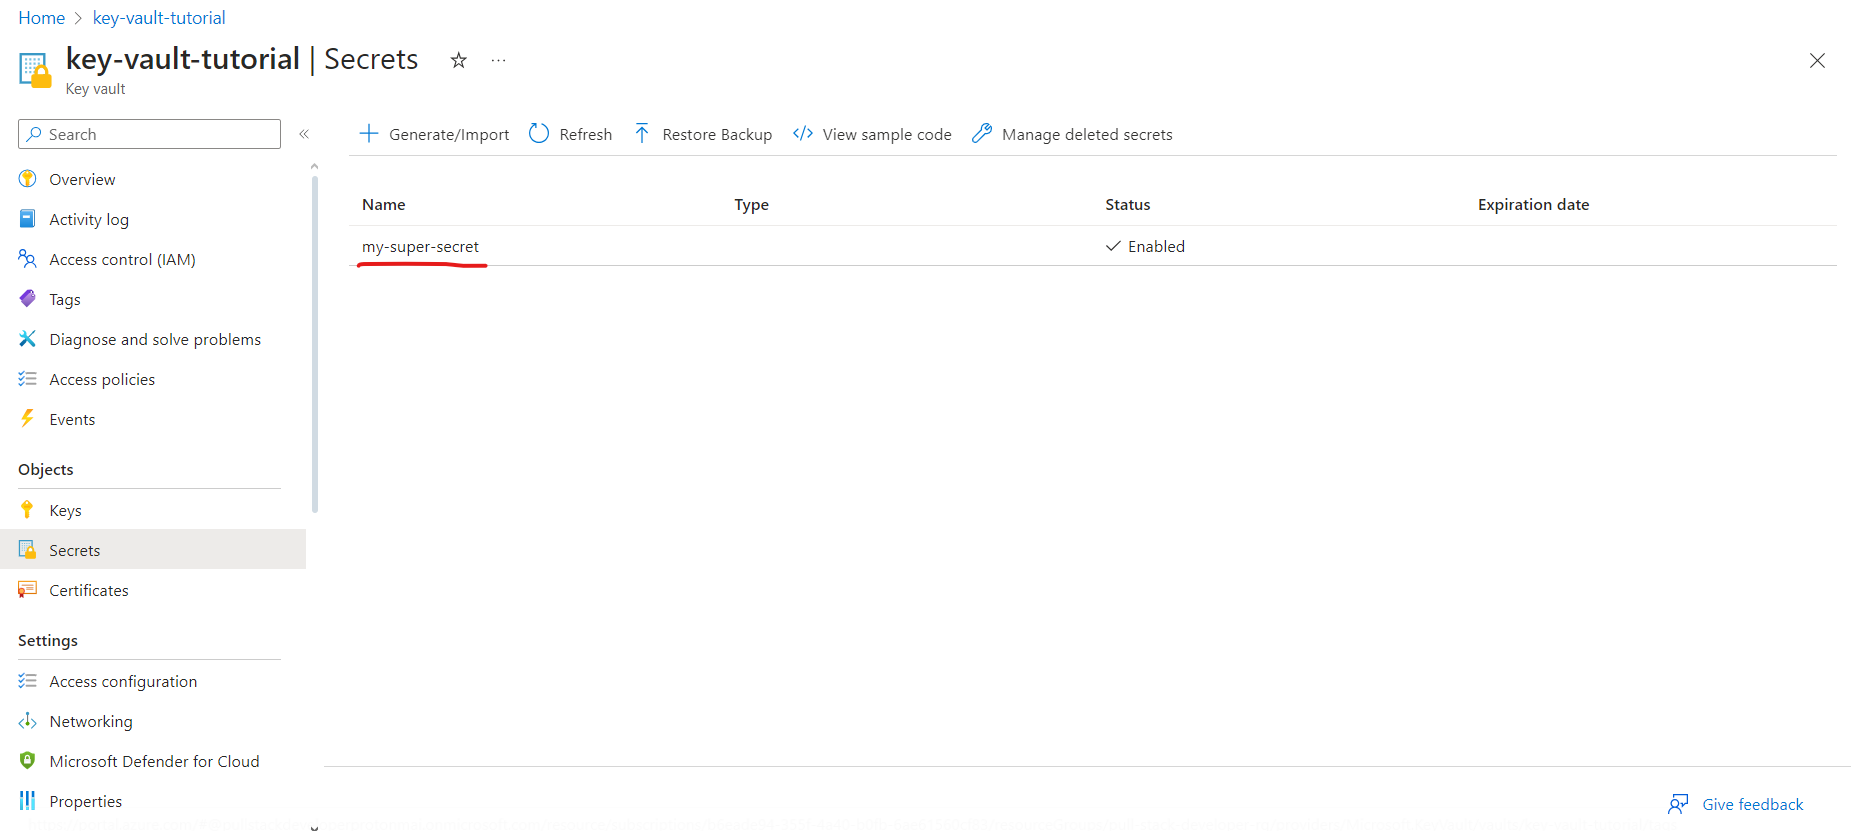
Finally, we can create our secret.
Step 4: Setting Environment Variables
Create a .env file at the root of your project and add the following environment variables:
*Note - You can use the name of the Key Vault or directly use its URL.
AZURE_CLIENT_ID=your-client-id
AZURE_CLIENT_SECRET=your-client-secret
AZURE_TENANT_ID=your-tenant-id
AZURE_KEY_VAULT_NAME=your-key-vault-name
Step 5: Creating the Azure Key Vault Integration Service
Let's create a service in NestJS to interact with Azure Key Vault. Create a new file azure-keyvault.service.ts in the src directory and add the following code:
import { Injectable } from '@nestjs/common';
import { DefaultAzureCredential } from '@azure/identity';
import { SecretClient } from '@azure/keyvault-secrets';
import { ConfigService } from '@nestjs/config';

@Injectable()
export class AzureKeyVaultService implements OnModuleInit {
  private client: SecretClient;

  constructor(private configService: ConfigService) {}
  onModuleInit() {
    this.setupVault();
  }
  setupVault() {
    const credential = new DefaultAzureCredential();
    const url = `https://${this.configService.get('AZURE_KEY_VAULT_NAME')}.vault.azure.net`;
    this.client = new SecretClient(url, credential);
  }

  async getSecret(secretName: string): Promise<string> {
    const secret = await this.client.getSecret(secretName);
    return secret.value!;
  }
}
If you use the method as follows:
const credential = new DefaultAzureCredential();
You must use the environment variables exactly as shown.
AZURE_CLIENT_ID=your-client-id
AZURE_CLIENT_SECRET=your-client-secret
AZURE_TENANT_ID=your-tenant-id
AZURE_KEY_VAULT_NAME=your-key-vault-name
If you want to use other names, you can use the ClientSecretCredential method. Here is a second example:
import { Injectable } from '@nestjs/common';
import { SecretClient } from '@azure/keyvault-secrets';
import { ConfigService } from '@nestjs/config';
import { ClientSecretCredential } from '@azure/identity';

@Injectable()
export class AzureKeyVaultService {
  private client: SecretClient;

  constructor(private configService: ConfigService) {}

  setupVault() {
    const credential = new ClientSecretCredential(
      this.configService.get('AZURE_TENANT_ID'),
      this.configService.get('AZURE_CLIENT_ID'),
      this.configService.get('AZURE_CLIENT_SECRET'),
    );
    const url = `https://${this.configService.get('AZURE_KEY_VAULT_NAME')}.vault.azure.net`;
    this.client = new SecretClient(url, credential);
  }
  async getSecret(secretName: string): Promise<string> {
    const secret = await this.client.getSecret(secretName);
    return secret.value!;
  }
}
Step 6: Injecting the Services and module into the Main Module
Open the app.module.ts file and add the AzureKeyVaultService, ConfigService and ConfigModule:
import { Module } from '@nestjs/common';
import { AppController } from './app.controller';
import { AppService } from './app.service';
import { AzureKeyVaultService } from './services/azure-keyvault.service';
import { ConfigModule, ConfigService } from '@nestjs/config';

@Module({
  imports: [ConfigModule.forRoot()],
  controllers: [AppController],
  providers: [AppService, AzureKeyVaultService, ConfigService],
  exports: [AzureKeyVaultService],
})
export class AppModule {}
Step 7: Using the Service to Retrieve Secrets
Open app.service.ts and use the AzureKeyVaultService to retrieve secrets.
import { Injectable } from '@nestjs/common';
import { AzureKeyVaultService } from './services/azure-keyvault.service';
import { ConfigService } from '@nestjs/config';

@Injectable()
export class AppService {
  constructor(
    private azureKeyVaultService: AzureKeyVaultService,
    private configService: ConfigService,
  ) {}
  async getHello(): Promise<string> {
    return this.azureKeyVaultService.getSecret(
      await this.configService.get('MY_SUPER_SECRET_PASSWORD'),
    );
  }
}
Step 8: Using the Service to Return Secrets
Let's create a controller to demonstrate how to use the AzureKeyVaultService to retrieve secrets. Create a new file app.controller.ts and add the following code:
import { Controller, Get } from '@nestjs/common';
import { AppService } from './app.service';

@Controller()
export class AppController {
  constructor(private readonly appService: AppService) {}

  @Get()
  async getHello(): Promise<string> {
    return await this.appService.getHello();
  }
}
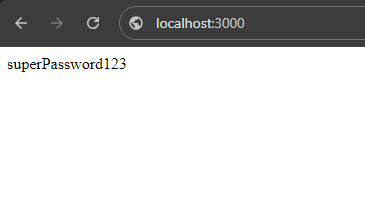
Step 9: Testing
Now, run the application:
npm run start
Conclusion
You have learned how to integrate your NestJS application with Azure Key Vault to securely manage secrets. This tutorial covered project setup, dependency installation, creating the integration service, and using the service in a controller.
For more information on Azure Key Vault and the Azure SDK for JavaScript, refer to the official Azure documentation.
Get the Working Code
Want to see the code from this tutorial in action? PULL the complete working example from my GitHub repository!
![]()
© 2024 PullStackDeveloper. All rights reserved.